Sunday 26 January 2014

Mint Aero Cookies

Today I made Mint Aero Cookies 

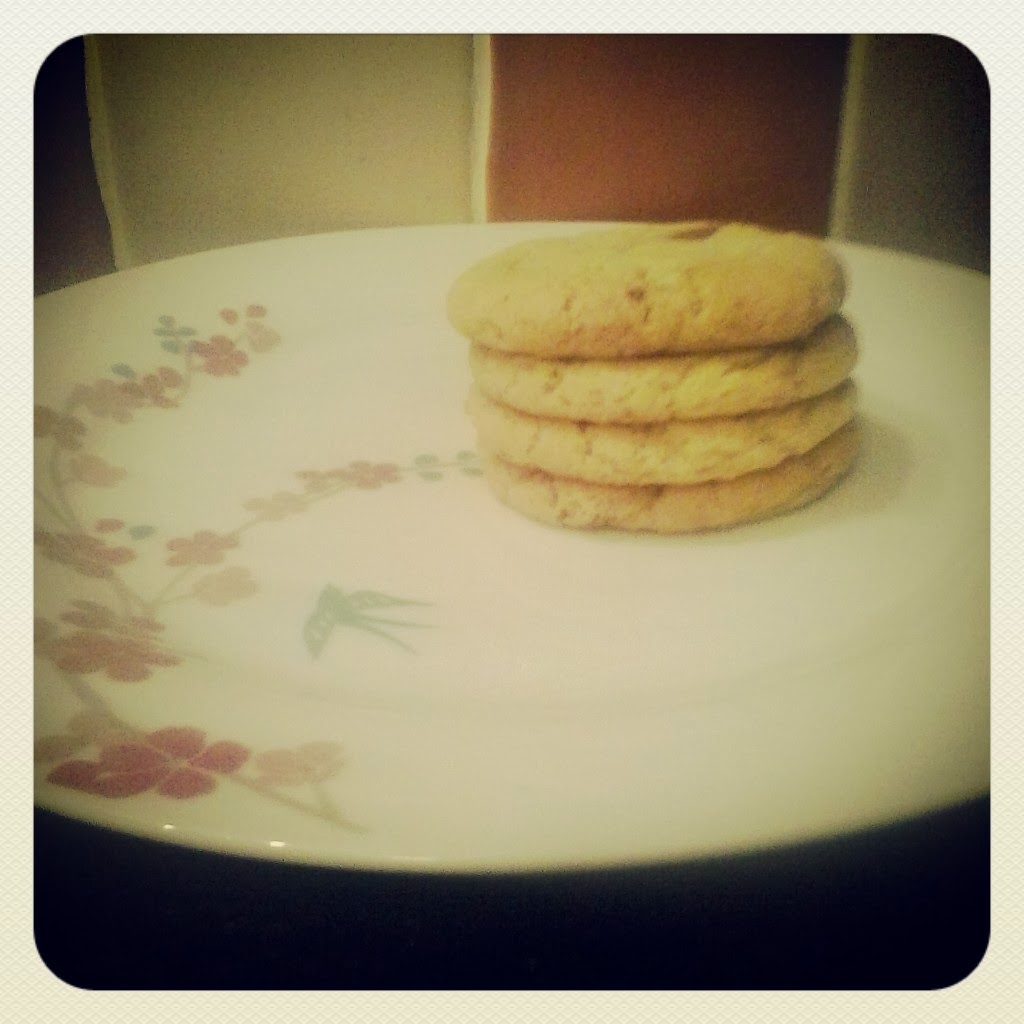
My Godson is obsessed with Mint Chocolate, Mint Aero being his favourite so he was the inspiration for this recipe. My basic cookie recipe is so versatile that you can add in pretty much anything you want to it, from Fruit and Nut to Peanut Butter or Nutella to pretty much any kind of Chocolate Bar. I add in quite a large amount of Mint Aero as I like for these cookies to pack a punch. The minty flavour really leaves a refreshing taste in your mouth. It's almost like brushing your teeth...with a cookie. These cookies are so easy to make. The Cookie Dough can be made in advance and kept in the fridge for up to three days or in the freezer for up to three months so you can have them as a reserve for any "I need a Cookie" day.


Ingredients:
(Makes 12 Large) 

  • 170g Unsalted Butter
  • 150g Golden Sugar
  • 50g Granulated Sugar
  • 1 Large Egg - At room temperature
  • 2 Teaspoons Vanilla Essence 
  • 250g All purpose Flour
  • 2 Teaspoons Cornstarch
  • 1 Teaspoon Baking Soda
  • 1 Large Mint Aero

Instructions:


1. Preheat oven to 160°C. Line two baking trays with baking parchment or silicone baking 
mats.

2. In a large bowl cream the butter and Golden and Granulated Sugar together, you can do this by hand with a spatula or whisk or with a hand held mixer until light and fluffy. Mix in the egg and vanilla and mix again until fully incorporated.


3. Scrape down the sides of the bowl when needed. When the egg and vanilla are incorporated you can start to add in the Flour, Baking Soda and Cornstarch . I like to put all the dry goods into a sieve together so everything gets incorporated evenly.


4. Using a sharp knife cut the Mint Areo up into small chunks.


5. Add the Mint Areo chunks into the Cookie Dough and mix through being careful not to break up the Chocolate chunks too much.


6. Chill the dough in the fridge for at least half an hour, I normally leave it for an hour as the longer you leave the dough the better the texture of the Cookies. The dough can also be chilled for up to three days or in the freezer for three months. 


7. When the dough is chilled, take out of the fridge. Take up two Tablespoons of the mixture and roll into a ball in your hands. Place the balls of dough on the baking trays with a 2 inch gap in between them.


8. Bake for 7-8 minutes, until the cookies are just starting to go golden brown around the edges. I really recommend not cooking any longer than 9 minutes. The cookies may seem slightly underdone but they will continue to bake on the baking sheet for a few minutes.


9. Remove from the oven and leave to cool for 5-10 minutes, then transfer to a wire wrack.


"Irresistabubble"

Saturday 25 January 2014

Fat Free Tomato Soup

Today I made Immune Boosting, Fat Free Tomato Soup

After just entering a new year everybody seems to be on a health and fitness kick. With a communal desire to get in shape and eat well along with feeling better both in body and mind. All the ingredients in this soup have a health benefit and contain no fat and are considered as "free foods" by many diet programmes. This soup stars with Garlic and Onions. Onions are packed full of nutrients that counteract respiratory problems, their antibacterial action combats all kind of infectious disease and they protect the digestive system, Garlic is a Super Food offering a huge amount of benefits, ranging from aiding weight loss to fighting cancer. It helps the formation of new cells which keep hair, skin and nails young along with treating cellulite.


Rosemary has antiseptic and antioxidant qualities proving good for circulatory conditions, nervous problems and aids memory. Ginger is a perfect food to include in your diet at the start of a new healthy eating regime as it promotes detoxification, circulation and has a soothing affect to nausea. Tomatoes are packed full with vitamins and minerals most renowned for the life-saving qualities of Lyopene which prevents cancer. Staving off everything from wrinkles and sun damage to heart attacks. Carrots are a great source of Vitamin A which has a clarifying effect on your liver, promotes healthy eyes and speeds up post exercise recovery time. Basil contains many compounds that are known to have
 anti-inflammatory and anti-bacterial properties.


Ingredients: 
(Serves 6-8)   

  • 3 Large Onions
  • 10-12 Garlic Cloves
  • 2 Tablespoons of Ginger  
  • 4 Large Carrots 
  • 6 Basil Leaves
  • 1 Sprig of Rosemary
  • 700g Pealed Plum Tomatoes
  • 1 Lemon
Instructions:

1. Peel and roughly chop the Onions. Peel and crush the garlic with the back of your knife and put into a large sauce pan with a little water so they don't stick - Don't worry about being too fancy when chopping your Vegetables for this soup as you will be blitzing it anyways. 


2. Cook for 3-5 minutes until the Onions start to soften slightly. Chop the Carrots quite small and into even pieces. I leave the skin on, as most of the fiber is in the skin and also it saves times. Throw the Carrots into the Onion and Garlic.


3. Fry the Vegetables for 4-5 minutes then top up with boiling water and leave to simmer for 8-10 minutes. 


4. When the Vegetables have softened add in your Pealed Plum Tomatoes. Break the tomatoes down with a wooden spoon. 


5. Chop up the Basil and Rosemary -  I was only too happy to get a chance to use my fancy new double herb cutter.


6.  Add in your Herbs to your Vegetables. 


7. Using a fine grater, grate your Ginger and add it into the Vegetables and Herbs. 


8. Blend the Vegetables with a hand held blender or you can use a Smoothie maker to blend the soup. Scrape down the sides of the sauce pan to make sure you have no lumps.


9. Stir the Soup to ensure there are no lumps. Keeping the soup on the heat add in the juice of one Lemon and stir through.


10. To serve. Ladle into your favourite bowl. You can place a teaspoon of light Cream Cheese and a Basil Leaf if you're feeling fancy.


“No disease that can be treated by diet should be treated with any other means.”

Tuesday 14 January 2014

Shepherd's Pie with a Cheddar Chive Mash

Today I made Shepherd's Pie with a Cheddar Chive Mash


Shepherd's Pie is one of my favourite and easiest family dinners to make. Shepherd’s pie is a savory dish made with a meat base – usually ground lamb, beef or a combination of the two with vegetables and a gravy sauce, topped with potatoes and baked to golden perfection. From what I gather, the dish was created by resourceful housewives as a way to use up leftovers. It makes sense.  Take a little of this and a bit of that, bake it all together in a pie and voilà!  It’s not leftovers anymore.  It’s a whole new and delicious dinner.


Shepherds Pie is a perfect dish if you need to feed a number of people as everybody gets served from the one dish. It's so versatile when it comes to ingredients as you can add in an assortment of Vegetables, use whatever Meat you like, jazz up the mash and even add a Cheese of choice to top. I made mine today using lean Mince Meat adding in Carrots, Onions, Sweetcorn and Peas and jazzed up my mash by adding in a red cheddar Cheese and Chives. You can also make this dish using Lean Turkey Mince and Sweet Potatoes if you are following a low fat, low Carb or Paleo diet.


Ingredients: 
(Serves 6)   
For the Mash:
  • 1 Kg Potatoes
  • 30g Butter
  • 10 mls Milk
  • 2 Handfuls of Chopped Chives
  • Sea Salt
  • Cracked Black Pepper
  • 1 Egg Yolk
  • 2 Cloves of Garlic
  • 80g Red Cheddar Cheese
For the Mince:
  • 1Kg Lean Mince Meat
  • 1 Large Onion
  • 80g Sweetcorn
  • 80g Garden Peas
  • 80g Baby Carrots
For the Sauce:

  • 2 Tablespoons Worcestershire Sauce
  • 1 Teaspoon Sweet Paprika
  • 2 Tablespoons Tomato Sauce
  • 400mls Gravy of choice
Instructions:

1. Wash and Peal your potatoes. I like to use Roosters, Kerr's Pinks, Golden Wonders or Queens if I'm making mash. Floury Potatoes give a smoother mash. 


2. Cut the Potatoes into small cubes and boil them in salted water for 10-15 minutes or until softened, time will vary depending on size of cubes. 


3. While the Potatoes are boiling, fry the Mince in a frying pan on a medium heat. No oil is needed as the Mince will release any fat and this will act to oil the pan. Fry till brown. Add in the finely chopped Onion and fry till softened.


4. Add in the Carrots, Peas and Sweetcorn. I always precook the carrots so they don't take long to cook, it's only a matter of preheating them. 


5. Stir everything together. Add in the Worcestershire Sauce, Gravy, Tomato Sauce and Sweet Paprika and allow to simmer.


6. While the Sauce is simmering you can make the Potato Topping. Strain and Mash the Potatoes to get rid of any lumps. Add in the Milk, Butter and Egg Yolk and beat with a whisk or fork. Crush in the Garlic and stir through. Chop the Chives and mix in carefully. Season to taste. 


7. Place meat mixture into a baking dish and flatten so there is a even layer.


8. Spoon the Potato mixture on top of the Mince Meat and spread evenly using a spatula. Using a fork press a pattern into the Potato. I normally do a series of lines as this creates a larger surface area and allows for the top to get crispier. 


9. Sprinkle the grated Red Cheddar on top before placing into a pre-heated oven at 190C. Bake for 20-25 minutes until golden brown.


"There is only one difference between a long life and a good dinner: that, in the dinner, the sweets come last."