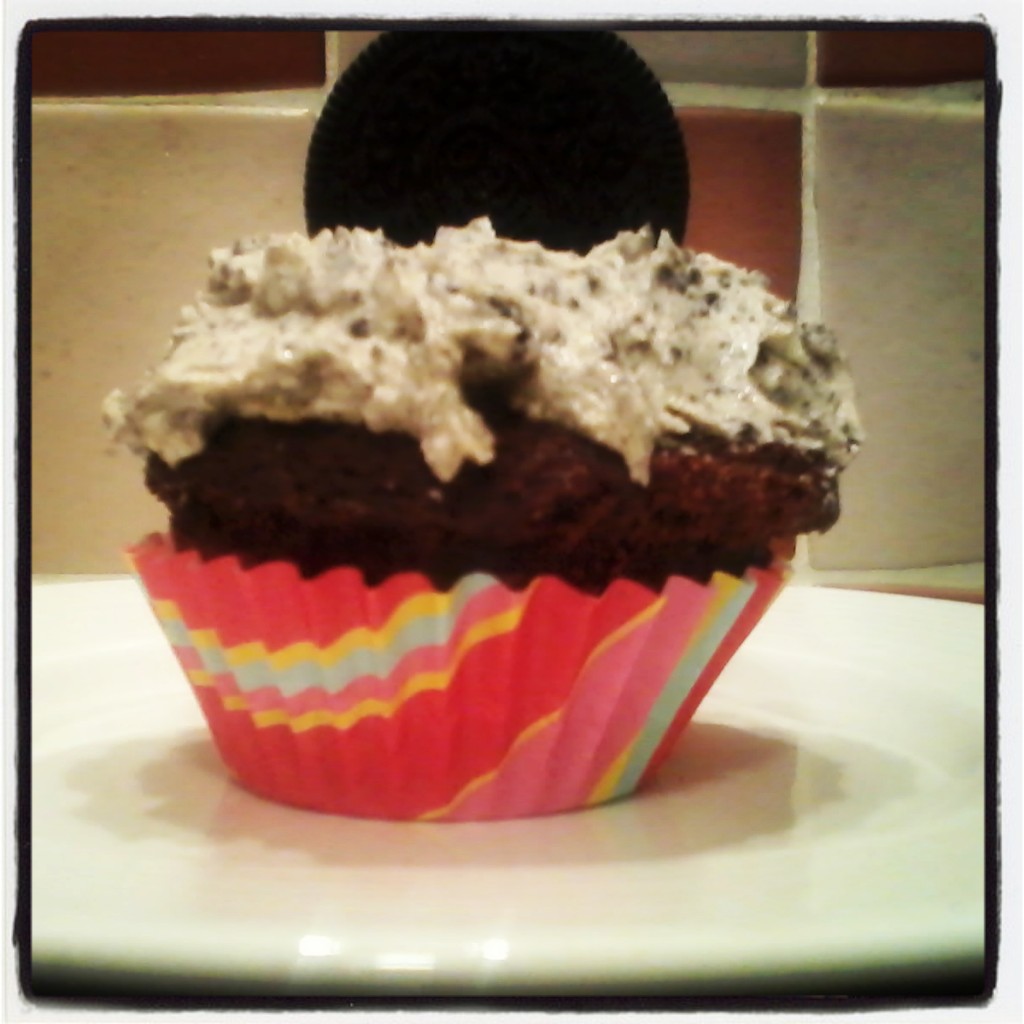
Today I made Oreo Cheesecake
 Cheesecake is one of my favourite desserts to play around with. It's such a versatile dessert you can add in pretty much anything you like from Lemon, Malteasers, Strawberries, or a personal favourite, Baileys. I probably have twelve or thirteen different favourite Cheesecake recipes. This is definitely up there in my top three. This cheesecake has a great aesthetic feature attached to it too. The stark contrast between the black and white really makes it a pleasure to look at as well as eat. The Oreo base is so intense in flavour that it is complemented perfectly by the sweet and creamy topping. I don't include gelatin in this recipe as the ingredients are so fresh and thick and creamy you don't need a setting agent.
  This recipe uses both regular sized and mini Oreos. The regular sized Oreos are blitzed into a fine crumb which will go into making the biscuit layer of the Cheesecake. The Mini Oreos are use for decorative purposes. They also acts as a way to divide up he Cheesecake when you are serving as one portion normally takes into account two mini Oreos. The topping of this Cheesecake is made up by mixing Cream Cheese - I like to use Philadelphia Light so save some ever important Calories. Mixed with Mascarpone Cheese and Cream. I like to sweeten my Cheesecakes with icing sugar. A lot of recipes say to use Caster Sugar or Granulated Sugar as a sweetener but I find that using regular sugar can leave your Cheesecake a little grainy and not being able to achieve that super smooth texture.
Ingredients:
- 32 Oreos
- 85g Butter
- 30 Mini Oreos
- 250mls Cream
- 500g Light Cream Cheese
- 250 Mascarpone Cheese
- 200g Icing Sugar
Instructions:
1. Blitz the Oreos using a food processor and pour into a large bowl. Melt the butter in a small bowl in the microwave and pour into the Oreo crumbs. Mix the butter in using a wooden spoon until the crumbs start to stick together.

2. Pour the crumb mixture into a 9 inch Springform Pan. Press the mixture down with a spatula making sure to get it as evenly spread out as possible. Place the pan into the fridge so the biscuit base can set.

3 While the base is in the fridge you can get your creamy topping ready. Whisk the cream till it's forming soft peaks. In another bowl place all the Cream Cheese and Mascarpone Cheese and begin to beat with a wooden spoon to loosen up and mix the two Cheeses together.
4. Spoon in the Whipped Cream and sift in the Icing sugar and mix through. Taste the mixture and add more Icing Sugar if you wish. Cut ten of the mini Oreos into quarters and add into the mixture.

5. Using a spatula, spread the Cream Cheese mixture on top of the biscuit base. Pressing down constantly so you don't have any air pockets or gaps in your Cheesecake.

6. Arrange your remaining mini Oreos on top of your Cheesecake, in what ever design you like. I like to do a circular design around the outside of the Cake but feel free to get creative.


7. Allow to chill and set for an hour or two before serving as the mixture will have softened slightly after working it so much.
8. To remove from pan, place on top of a small bowl and then unclasp the tin slowly. Move the outside of the pan down making sure not to disturb the sides of the Cheesecake.


"If chocolate is the answer, the question is irrelevant"